The Dirt on Composting
America, we have a problem. A food waste problem, to be more specific. Food waste (or food loss) is any kind of food that is discarded or uneaten. The USDA estimated that 30 percent of food is lost or wasted at the retail and consumer level. This means Americans are throwing out approximately 133 billion pounds of food worth $161 billion each year. We often trash our food because we think it’s out of date, even though expiration dates have proven to be subjective. We throw it out because it might be aesthetically blemished or perceive a decrease in quality. However, it's not just operators or consumers throwing away food. Farms often contribute to food waste when certain fruits or vegetables aren't "pretty enough" to sell. When food goes to the landfill, it’s not returning to the earth in a pleasant way. Rotting food releases methane, a strong greenhouse gas. This means that your uneaten salad is increasing your personal--and our collective--carbon footprint.
Fruits and vegetables are (or should be) the bedrock of human consumption. But they are the two most wasted foods in the United States (dairy and meat coming in second and third place, respectively). Vegetable and fruit peelings, cores, and scraps, when correctly combined with oxygen and water, can break down organic matter. If you do compost regularly, you’re saving nearly a pound of food every day. If you want to keep food waste out of our landfills, you can prevent unnecessary greenhouse gas production, one banana peel at a time. Here’s our crash course in compositing, what you’ll need, step-by-step instructions, and more tips along the way!
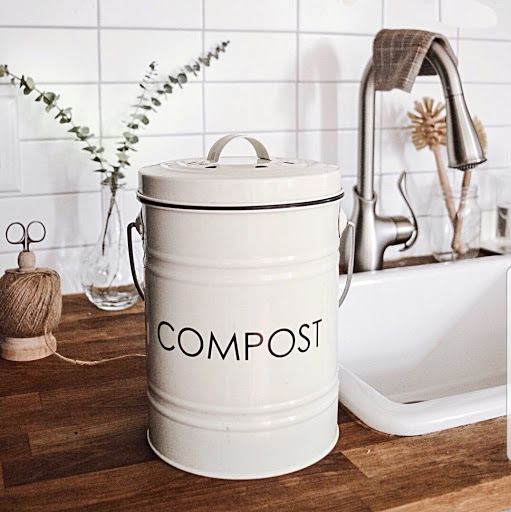
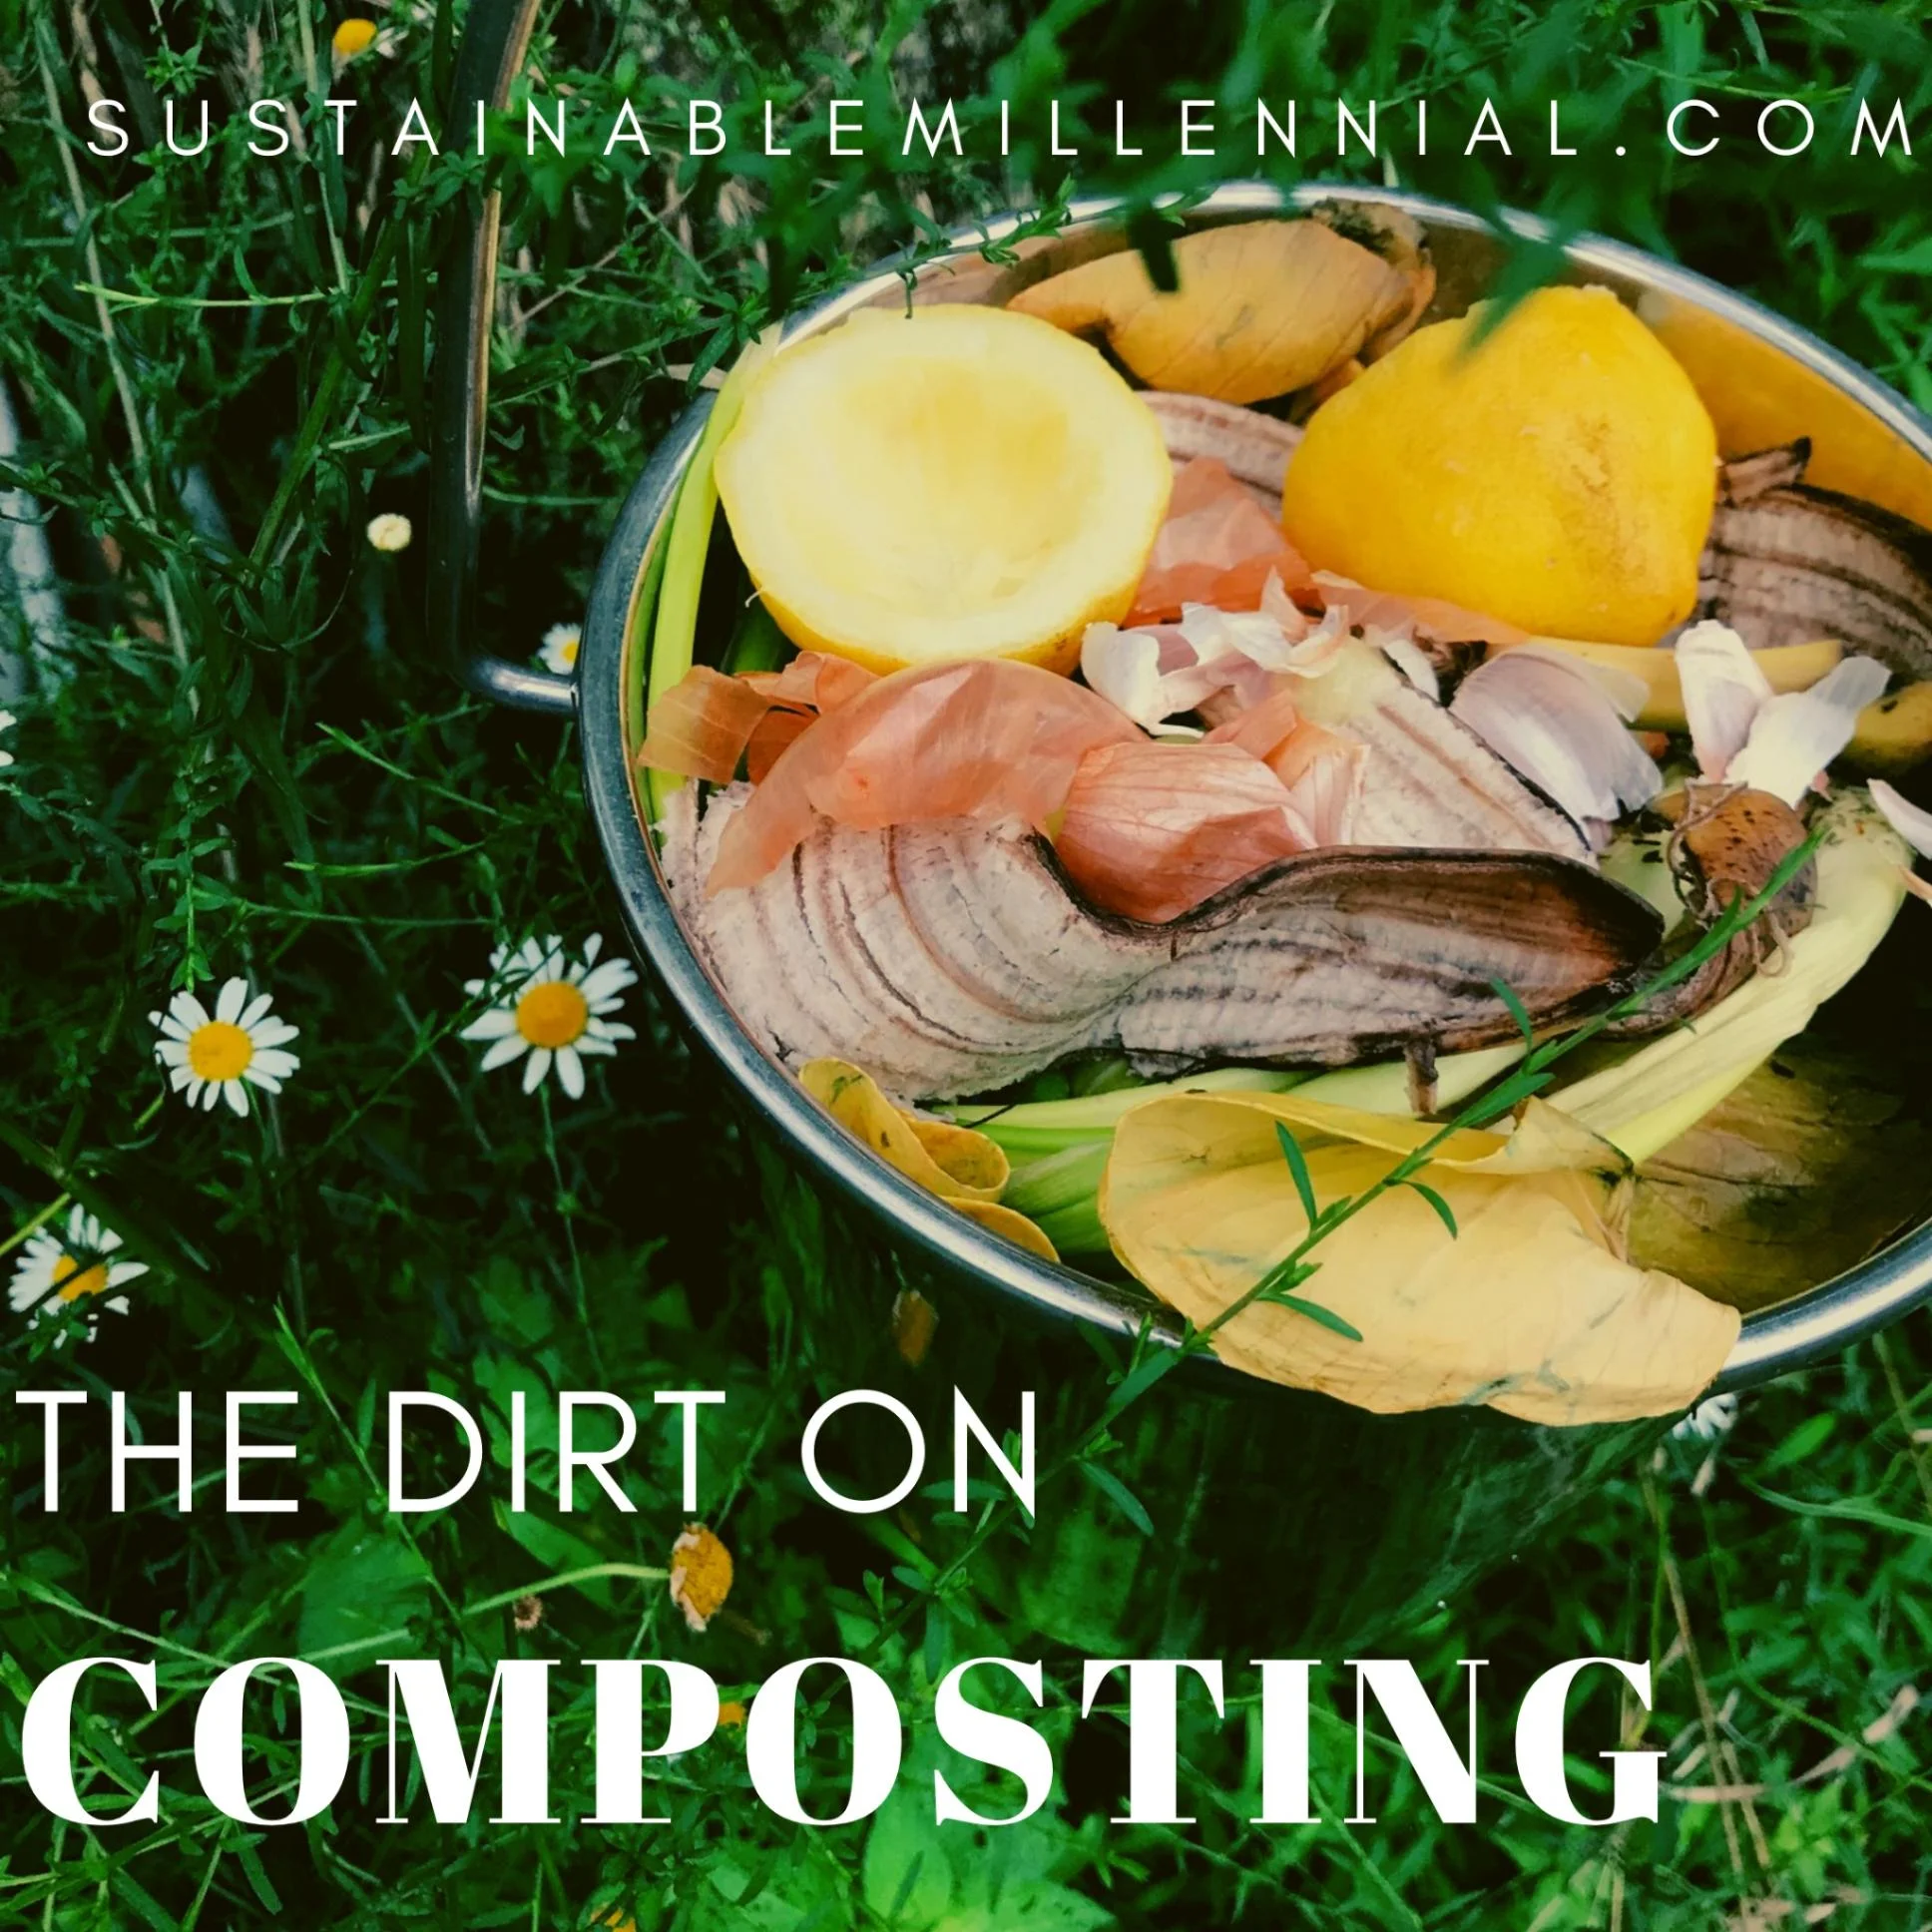
Photo courtesy of @wandering_wild_home
Compost 101
It’s easy to get lost in the science of composting, but in essence, compost itself is an organic, nutrient-rich soil that has derived from decomposed materials. Composting, on the other hand, is nature’s way of recycling: it’s the process of this decomposition. Materials such as coffee grounds, egg shells, and even paper plates decay into a soil state called “black gold” by composters. This matter won’t break down all on its own though, at least not as fast as you would want it to. That’s why there are 3 basic ingredients for your compost bucket: browns, greens, and water. Browns are high in carbon and serve as the “fiber” of your compost. These materials can be dead (or autumn) leaves, branches/twigs, weeds/dead plants, stawdust, straw, and more. Greens are high in nitrogen, and also activate heat in your compost. Preferred items can be grass clippings, vegetable waste, fruit scraps, coffee grounds, etc. It’s also important to keep your compost slightly moist with water: like a damp sponge. For your compost to get everything it needs to, it must have certain amounts of browns and greens (but we’ll get more into that later).
From writing an itemized shopping list before you hit the supermarket to freezing your perishable produce, there are numerous ways to cut down on your food waste. In fact, the EPA has a food recovery hierarchy on the most to least preferred ways to deal with food waste. It states that we should first reduce the food we create, then donate the food, try to feed it to animals, use it for industrial energy, and then compost. So, why should I compost, then? Like we said before, composting at home diverts food waste away from our landfills. But wait, there’s more:
Composting conserves resources such as fuel needed to transport, process, and compress waste. It also minimizes water consumption, as compost has a higher capacity to hold water than other soils.
It helps to reduce GHGs like methane emissions (both from food waste and the production of artificial fertilizers), which lowers your carbon footprint. The large amount of methane gas in our atmosphere is a known contributor to global warming.
It improves soil quality. Remember the “black gold” I mentioned earlier? It’s actually called humus (not to be confused with the chickpea spread you dip your pita in). This is an organic, nutrient-rich soil that feeds plants, helps retain soil moisture, and encourages life of beneficial microorganisms.
Digging In
It’s time to roll up your sleeves and get dirty! Here’s what you’ll need to get started on your compost:
A Compost Spot
Location is key. Before you buy a large bin for out back, check if you have a community compost, or if you have a local community composting service, like Bennett Compost.
Compost Bin, Bucket or Container
Inside: a stainless steel, sanitary container / use a tray and store the food in your freezer, to prolong your next trip to the compost bin.
Outside: a large receptacle not adjacent to a frequented area because it may smell in the warmer months. You can construct your own or making it right on the ground (remember to keep it protected!).
Tip: whether buying your own bin or DYI-ing it, the recommended size is no smaller than 3 feet X 3 feet X 3 feet, and no larger than 5 feet X 5 feet X 5 feet. You want to have your compost to break down efficiently. If your pile is too small, it might not heat up enough. Too big, and it’ll hold more water than air: making your compost harder to turn over.
Shop for compost containers: Outdoor Compost Bins | Indoor Compost Bins

Photo courtesy of Bennett Compost (these guys are killing the composting game in Philly! Check out this Sustainability Spotlight)
Compost Materials
Greens! Is it an organic material? It can be composted! This should constitute most of your compost pile, but can include coffee grinds, plant clippings, and non-processed food remnants.
Browns! Think of twigs, paper, leaves, paper, napkins, or cardboard.
Tools / Etc.
For turning the compost: pitchfork (4-5 tined), shovel, garden rake, other compost turners / aerators.
Garden soil
Optional: garden hose (for outdoor piles), compost thermometer
When Life Gives You Lemon Peels
Compost can smell funny. It’s too messy. It’s really complicated. These are all common misconceptions for composting at home. It can be, if you do it the wrong way. That’s why we’re here: to set the record straight on composting. This is our simple, step-by-step instructions for the perfectly portioned recipe!
Step One: Layer the Bottom
Put down a layer of twigs (or straw) to allow for the proper aeration and drainage of your pile. Then, cover them with brown, dry items: fallen leaves, newspaper or dry garden clippings. If these materials are unavailable to you, sprinkle over garden soil or recently finished compost. We’re all ‘bout that base.
Step Two: Add a Layer of Green Materials
Next, evenly cover the bottom layer with greens. Choose materials that are easily compostable and heat-generating. Particular items can be leaves, weeds, fruit and vegetable scraps, and more. As the microorganisms work to break down your compost, the temperature rises. You don’t have to be Einstein, but just remember that higher temperatures = a faster decomposing compost.
Step Three: Shovel On Some Soil
In small doses, you can put down a coat of garden soil anytime. Soil introduces bacteria needed for the process. Keep it dry, though: wet soil can create a slimy pile and invite pests to your party!
Step Four: Add Water to All Layers
All life needs water, including the insects feeding on your mixture. Water also helps to regulate its temperature. Let’s be clear: you definitely don’t want your compost too wet OR too dry! If the contents are too dry, it will take overly long to compost; and if too wet, the contents may begin to smell. Sprinkle water in the middle of the pile and mix thoroughly with a turning tool.
Step Five: Alternate Layers
Layering compost is virtually like making a rich, multi-layered lasagna. In fact, it’s a tried and true way to minimize maintenance, prevent pests, and ensure you’re giving everything your compost needs! Repeat the process of browns, greens, soil (green shouldn’t go on top) until it’s almost filled. Again, it should be at least 3 feet tall. Leave room for your scraps!
Feed The Soil
Let’s talk about the carbon-to-nitrogen ratio for a sec. Like we brought up before, you must have a specific amount of browns and greens in order to balance out your compost. For most composters, the ideal proportion is 30:1 (Carbon:Nitrogen). This DOES NOT mean to use 30 pieces of brown materials and 1 piece of green material. Don’t make this mistake! Rather, it’s the formula that scientists (yes, there are compost scientists) found that is the optimal decomposition for microorganisms to feast on. It can get tricky for you to calculate this ratio by yourself, but here’s a list of estimated C:N ratio for common composting materials.
When doing the numbers, take note that any organic matter that has a C:N ratio generally smaller than 30:1 is considered a green. Any organic that has a C:N ratio generally larger than 30:1 is considered a brown. No, you do not have to have the exact ratio to a T. This just helps to speed up the process as well as keep it smell-free. Do some experimenting and see what works. To keep it simple: start out by adding two parts of a green material to one part of a brown material to your bin.
Step Six: Dump Your Waste (As It Accumulates)
Once you’re good to grow, we advise you to prepare your waste materials for the bucket. Collect everything in a small container. Then, crush, chop, or shred your waste materials so it’s easier to break down. Since it takes solid and larger pieces to break down, this will speed up the time it takes to make compost. Dump your scraps and also mix well.
Compost Care
Composting is not just a one-and-done situation. It requires a fair (but not too much) amount of maintenance in order to keep your compost healthy. Firstly, continue to moisten your pile with water. You should regularly check the temperature. Your compost should be 110 degrees Fahrenheit. Use a compost thermometer or stick your fist in the middle of the heap (it should feel noticeably warmer on the inside than the outside). Turn your pile with a tool once a week (or two) encourage the growth of the right kind of bacteria and makes for a nice, sweet-smelling pile that will decompose faster. Lastly, always keep it covered and out of sight from pests/other animals.

Photo courtesy of @taesimpledays
Dos and Don’ts
Here’s a few thoughts before you go:
DO:
Check your local community regulations before you plot your compost (outdoor)
Care for your compost (obvi)
Try to meet the recommended carbon-nitrogen ratio
Use your “black gold” in your garden
DO PUT IN:
Cut or dried flowers
Yard debris
Fruit and vegetable scraps
Non-greasy food (rice, pasta, bread, etc.)
Nut and egg shells
Coffee grounds and filters
Teabags
Shredded cardboard and paper
DO NOT:
Neglect your pile until it starts to smell or rot
Add only one type of waste, instead of a variety
Pile compost too densely without room to breathe
Let the pile dry out without watering
And, finally, DO NOT PUT IN:
Dairy products
Meat (with and without bones)
Greasy food scraps
Carnivorous animal manure (while it is possible to use herbivorous animal waste, like from horses or rabbits, we don’t recommend it for beginners)
Compostable to-go containers (these are only compostable in industrial composting processes)
Diseased plants
Chemicals
Glossy paper
Composting is good for the garden and reduces the amount of rubbish that goes to the landfill. By setting up your own compost bin, we can all play a part in reducing our landfill output. Be resourceful, and don’t throw away our future!
Written by: Laura Matusheski